Introduction
Today I tried LazySysAdmin from VulnHub. (https://www.vulnhub.com/entry/lazysysadmin-1,205/)
Steps
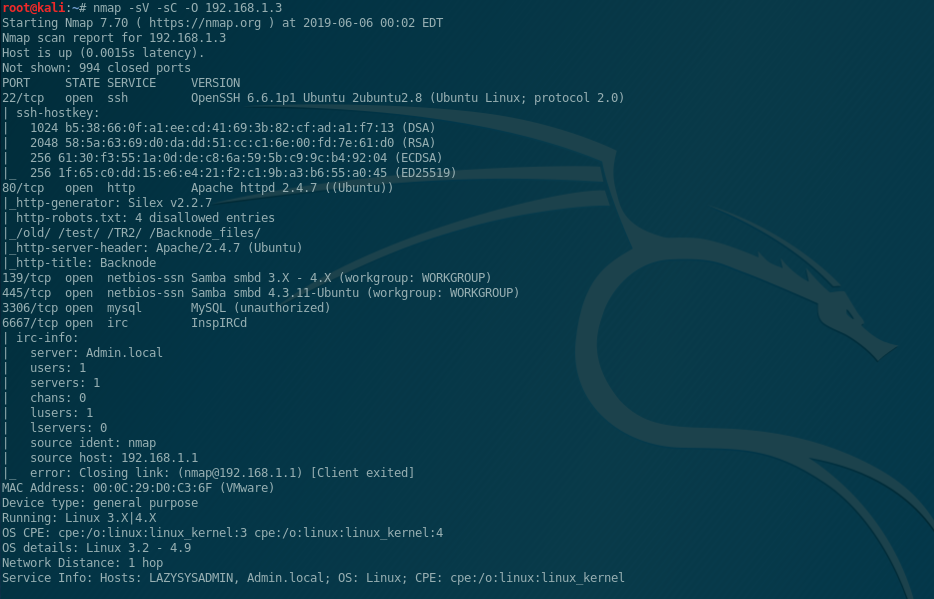
Started with the good ole nmap. This time I use the flag -sC which uses the default scripts. I also used the normal flags that I usually go with -sV (Version Detection) and -O (OS Detection)
We see:
SSH
HTTP
SMB
MYSQL
IRC
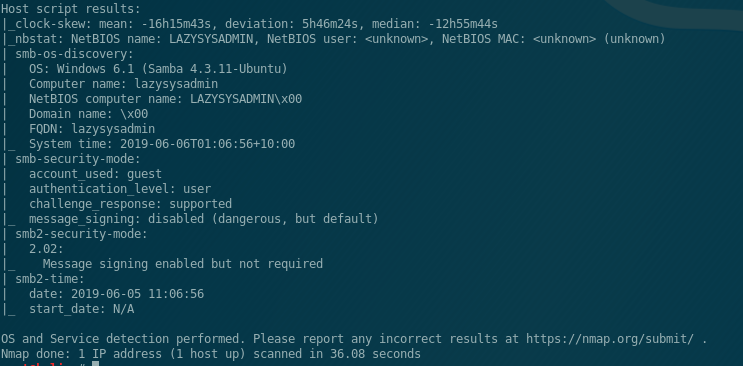
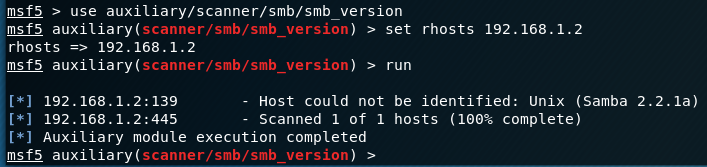
We see that it has Samba running and give that a quick check. It turns out that it has Anonymous read access enabled!


We see what looks like a website root directory. Poking at the files, we see one that looks like it contains some kind of password.

We take a look at what website that it is running. None of the links seem to work or provide any additional information. Perhaps it’s a dead website.

We remember the /wordpress/ directory from the SMB enumeration and take a look at that. We see a user ‘togie’ who is clearly not happy with setting up wordpress. We now have a name of a user setting up websites and a password for someone who doesn’t care anymore.

We take the username and password over to the open SSH port and give it a go. Success!!
We see that the user togie was truly lazy and saved his password where he could easily see and remember it. Unfortunately, so could anyone else that tried some basic enumeration.

Once we are connected to SSH, we try the easiest way to get root ‘sudo su’. Turns out this user has sudo privileges! we are root!!

Conclusion
This VulnHub machine was pretty fun! One neat thing I did learn while poking around was a new way to escape a privileged shell. Between SSH as togie and the ‘sudo su’ command we were locked in a restricted shell. Jumping right to root got us out of the restricted shell. While playing around with the restricted shell, I found the an escape path on this page (http://www.cyberry.co.uk/resources/breaking-out-of-jail-shell/) that used man pages. Open a man page and then type ‘!bash’. I’m not sure how often that escape works, but it happened to work here!